Using the Collection Data Form
Opening Collection Data Form
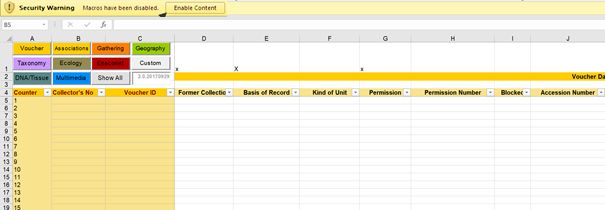
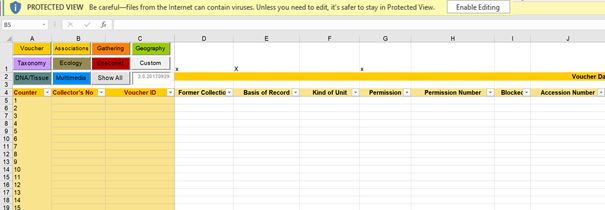
While opening the CDF in Excel 2016 the window will look similar to the one shown below in the snapshot. You may see a yellow colored field at the top.
Click at Enable Content.
Or
Click at Enable Editing.
For older Excel versions see Excel Macro Security (pdf)
General Structure
The CDF consists of more than 150 columns. Only a few are needed for the regular use cases at BGBM. On the top left there are clickable buttons to move easily between different (coloured) areas within the sheet. Also there is a button called “Custom”. All columns marked with an “x” (see columns D,E,G in example above) will be displayed in the “Custom” view. “Show all” will show you all columns of the CDF.
The Collector’s No and Voucher ID are fixed columns for a smooth navigation.
If you want to sort by a certain column use the little filter arrows in row 4. Do NOT sort by the entire column!
Entering Data
examples coming soon...
exampels coming soon...
Voucher Data
This part comprises general information about the physical specimen. Here you enter information on the Specimen Barcode (“Voucher ID”), the (collecting) permit, the BGBM permit registration number, the BGBM living collection accession number and biological data, such as sex, or life form (if e.g. an algae record). The “Voucher Notes” field can be used for all information, that doesn’t fit elsewhere (e.g. “fruit reddish”).
Associations
In case the specimen is divided into multiple sheets, enter the additional barcodes in the part “Associated Vouchers” and select a relation “same population” or “same individual”.
Gathering
This part comprises information on the collection data, the collector’s, as well as collection methods and an expedition/project title (if applicable). Please note that ALL collection data must be filled in as YYYY-MM-DD. If the herbarium label reads “April 1903” you enter Collection Date From: “1903-04-01” and Collection Date To: “1903-04-30” and the original label data into the grey column “other format Collection Date”.
Geography
This part comprises the information about country and locality, coordinates and altitude where the specimen has been collected. On older herbarium specimens you will find outdated country information quite often. Please try to evaluate the current political country for this locality and select it from the country list. The original country information can be entered in the locality field. If you are not sure enter the original country in the locality field and keep the country field empty. The coordinates are divided into six columns. They green columns “Latitude From”, “Latitude To”, “Longitude From”, “Longitude To” are for decimal values only! If the label information is provided in a different format you can use the grey columns “Coordinates other format”. Altitude data should be provided as From – To values in two separate columns. The unit is usually meters and can be entered in the Altitude unit column. If the label information is in ft. enter “ft.” in the unit column.
Taxonomy
This part comprises information on the identification of the specimen or sample as well as the type status (the latter applicable only for type specimens). Please provide Family name for all records or the lowest Higher Taxon that can be determined. There are separate columns for basionym and author. Please do not provide any brackets, but split the authors in “Author in parenthesis” and “Author” if applicable. “cf.” must be provided as “Qualifier” (column before Genus). Please do also provide the information to which level the qualifier belongs to. Example A: Bellis cf. perennis -> Qualifier belongs to Specific Epithet. Example B: cf. Poaceae -> Qualifier belongs to Family “aff.”, “s.str.”, “s.l.” must be provides as “NameAddendum” (column before Author in parenthesis). Please use standard abbreviations like aff., s.str. or s.l.
Ecology
The most important field here is “Habitat aspects” and should be filled with free text whenever habitat information is provided. All other fields are used on rare occasions.
Ensconet
These fields are usually used for seed collections and can be ignored by all others.
Custom
All columns you have marked with X or x (see Fig. 1) will show up when selecting this view.
DNA/Tissue
This part comprises information on DNA and tissue samples as well as lab data and INSDC numbers. If you collect plant samples in the fields for e.g. DNA analysis you must use Tissue Barcodes (B GT …) for your teabags and must fill out the column “Tissue ID” with these numbers. The barcode/ID of the accompanying herbarium specimen must be entered into the yellow column at the beginning of the sheet “Voucher ID”. For each sample accompanied by a voucher specimen you must provide the information whether the sample and the specimen are the same individual or the same population. You should also distinguish between ex situ (living collection) and in situ. The “Tissue type” describes the part of the organism sampled. Usually this is “leaf”. The column “DNA Sample ID” will be filled out by the DNA bank curator!
Multimedia
This part can be used to provide information on associated multimedia files. Usually the specimens are scanned by the herbarium team, so no entries are needed here. If you have taken pictures of the habitat of this specimens or the specimen itself in the field and would like to provide these pictures to BGBM please contact biodiversitydata@bgbm.org.
Show All
This view will show you all columns at once.
Label Print
Click on the "Label Data" sheet to check the label print preview. First of all you can enter a title for your labels (e.g. the herbarium name) and the accession date. Note, at BGBM this accession date is assigned by Katharina Rabe (k.rabe@bgbm.org). Please contact her BEFORE printing the labels!
Final label word document ready for printing.
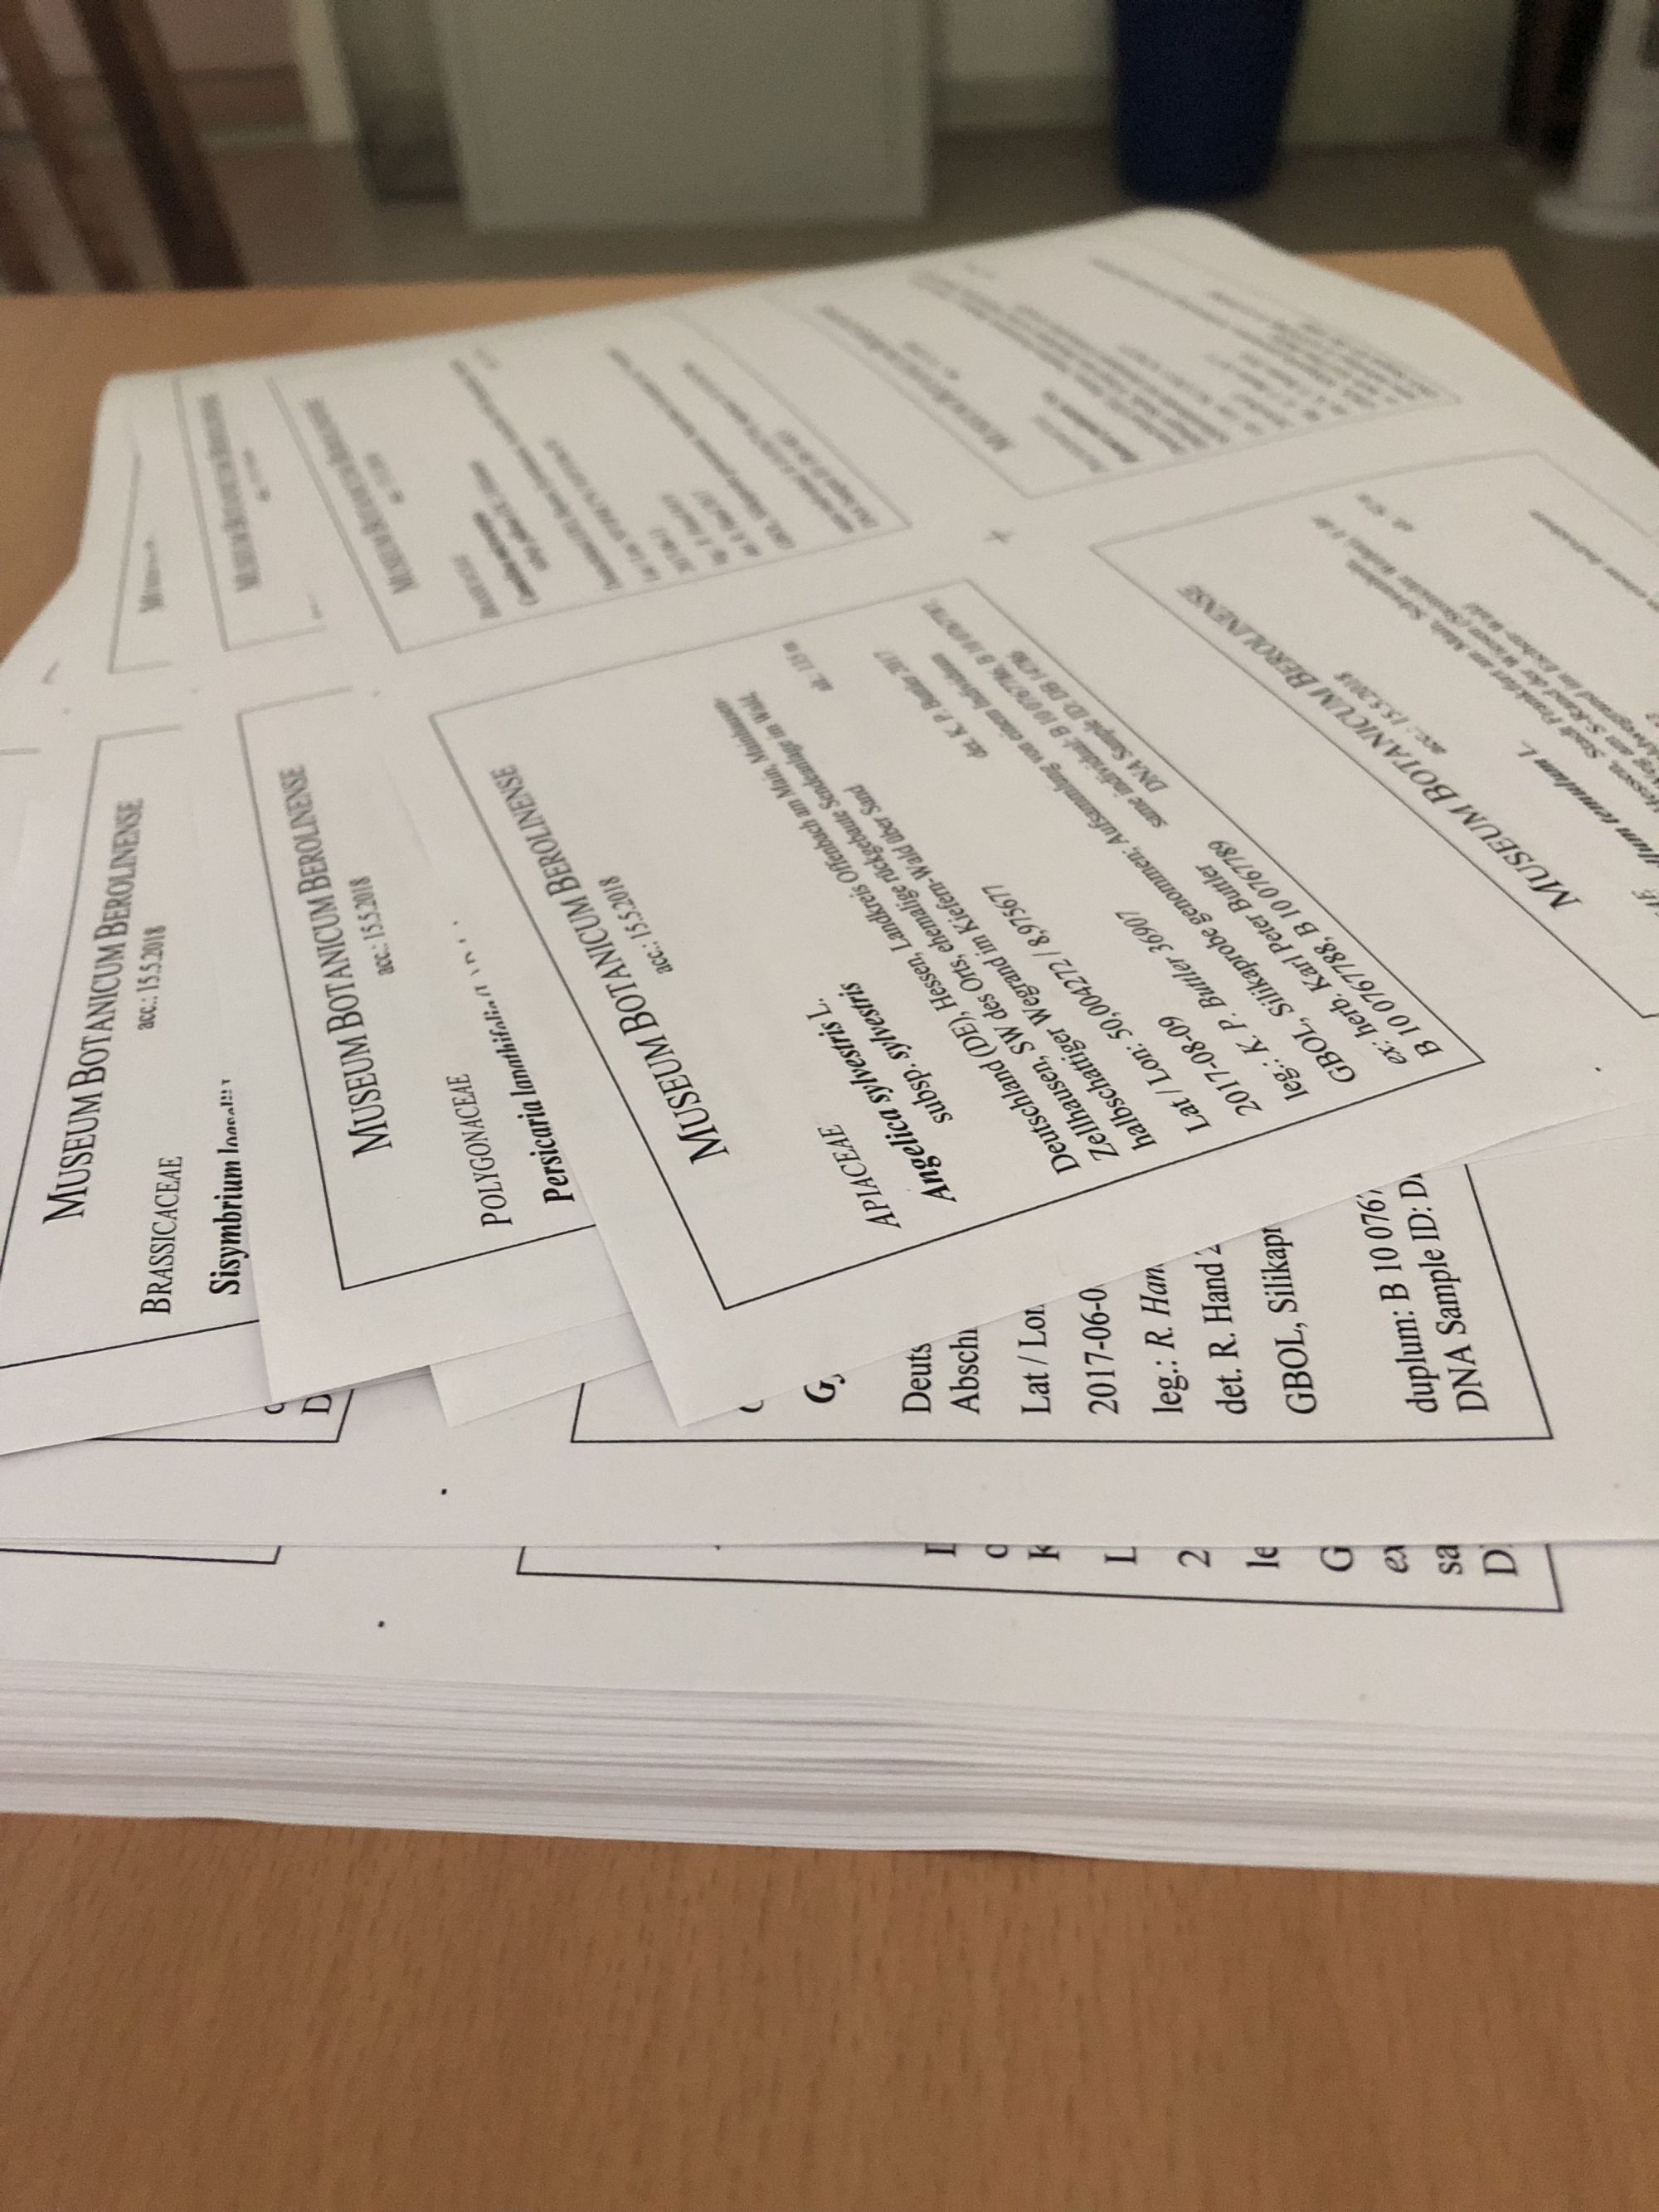
Printed labels ready for cutting.


